
Last Updated on
You can populate document attributes by either 1) using the Attributes and/or More Attributes tabs in the Document Properties, or 2) using the Document > Modify… command. If you want to enter the same attribute values for multiple document at a time, you must use the Modify command.
Modify Attributes for an individual document
- Right click on a file and choose Properties… from the menu (near the bottom of the list).
- Select the Attributes tab.
Note: As a reminder, the attributes shown on the Attributes tab are controlled by the active interface toolbar.
- Locate the attribute you want to modify. Based on the type of attribute, choose either a value from the respective pull-down menu, such as for the Engineering Manager Attribute, or type in the value manually, such as for the Sheet Title Attributes.
- After modifying the attribute values, select Close. This will save the new attribute value fot the document and close the properties dialog box.
Modifying attributes for multiple documents
Attributes can be assigned or changed on multiple files at one time using the Modify… tool.
- Select the files to be modified.
- Right-click on the slection set and navigate to Modify.
- In the Modify documents dialog box, select the “ODOT’s default environment … ” Tab
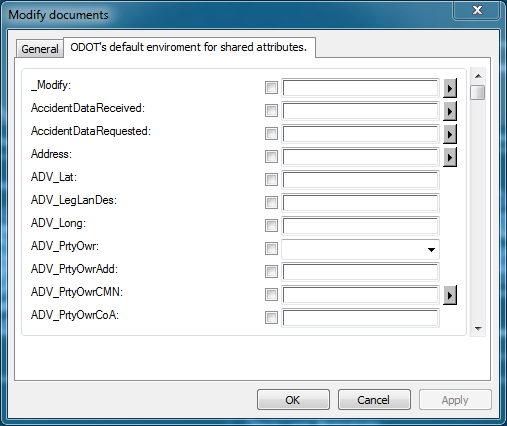
- Toggle on the attributes to be modified and enter the desired value in the text field to the right of the attribute name.
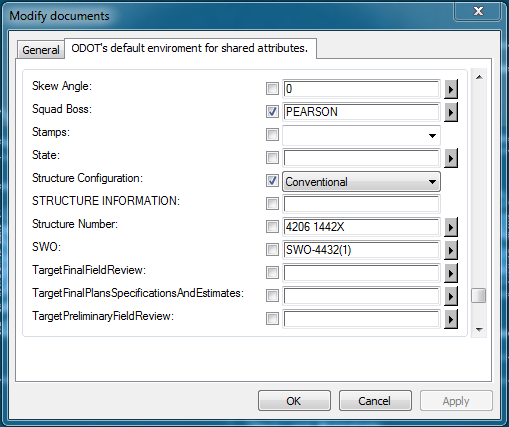
- Click OK (or Apply) to assign the changes.
- To insure the changes have been made, right-click on one of the documents and view the properties.
